Step-by-Step Instructions
1. Navigate to the Settings > CRM > Opportunities module
Select the pipeline you want to customize.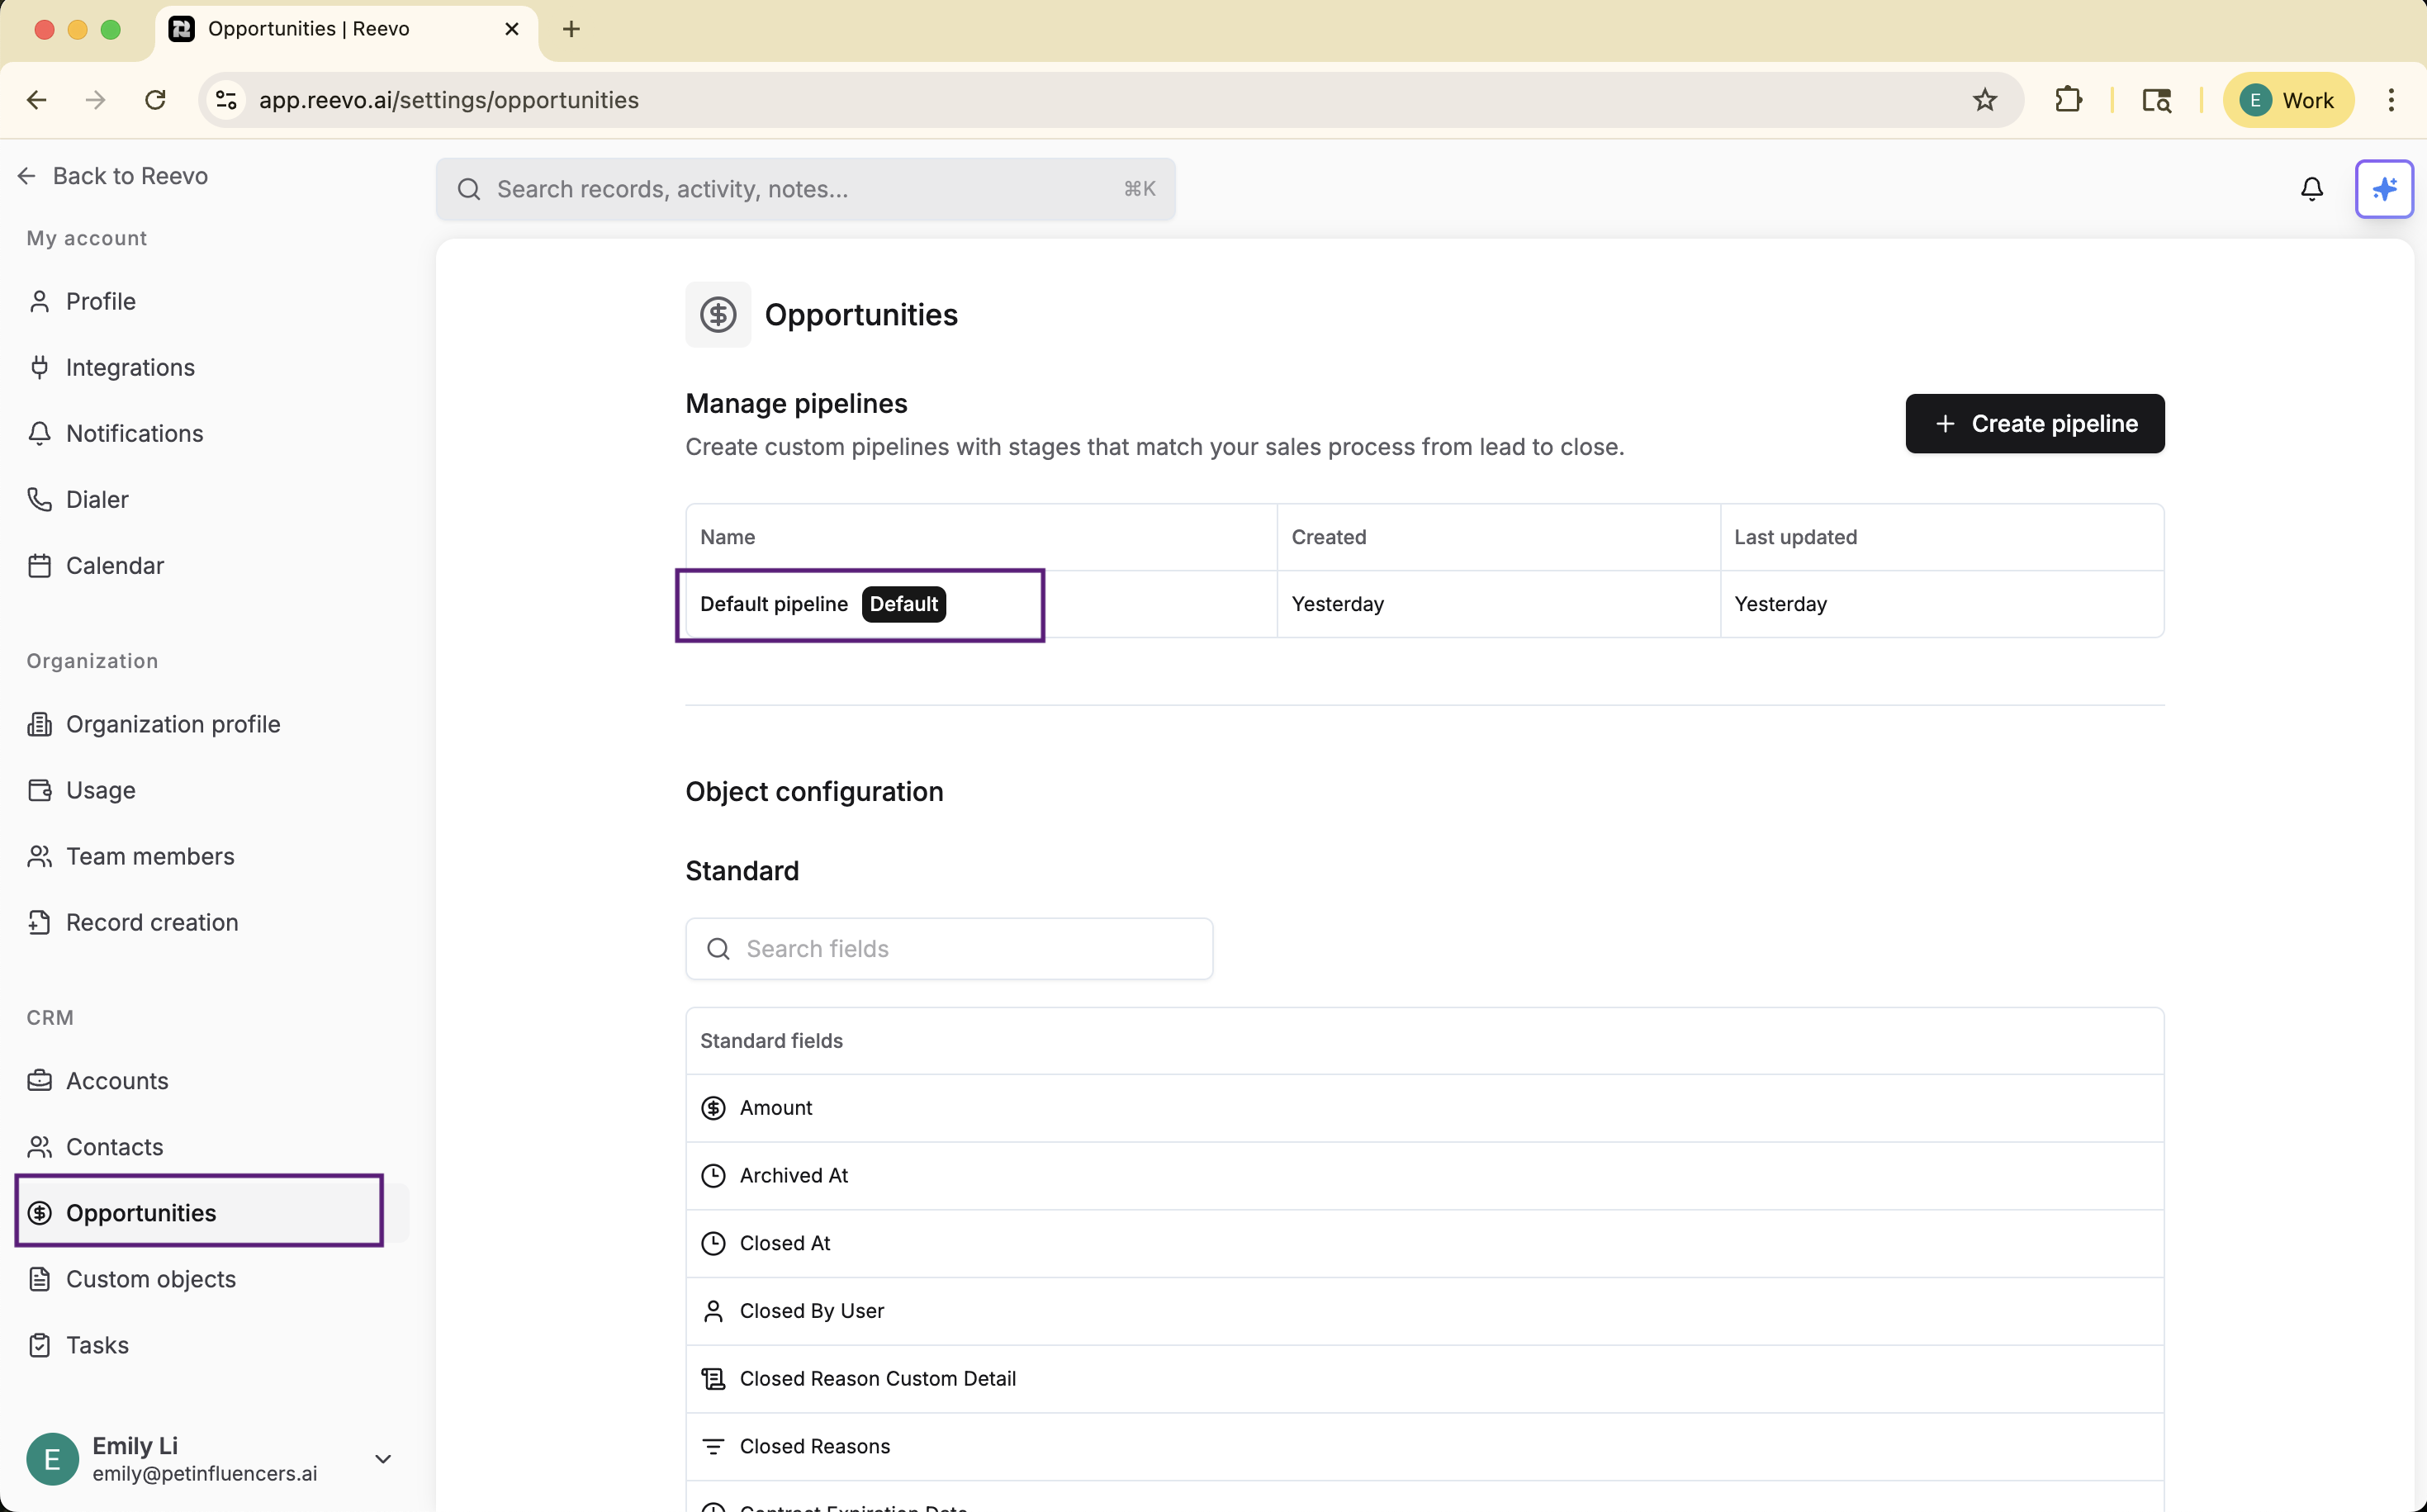
2. Open the configuration options
Click the (+) sign to open the field configuration options where you’ll have the option to create your custom prospect or deal stages.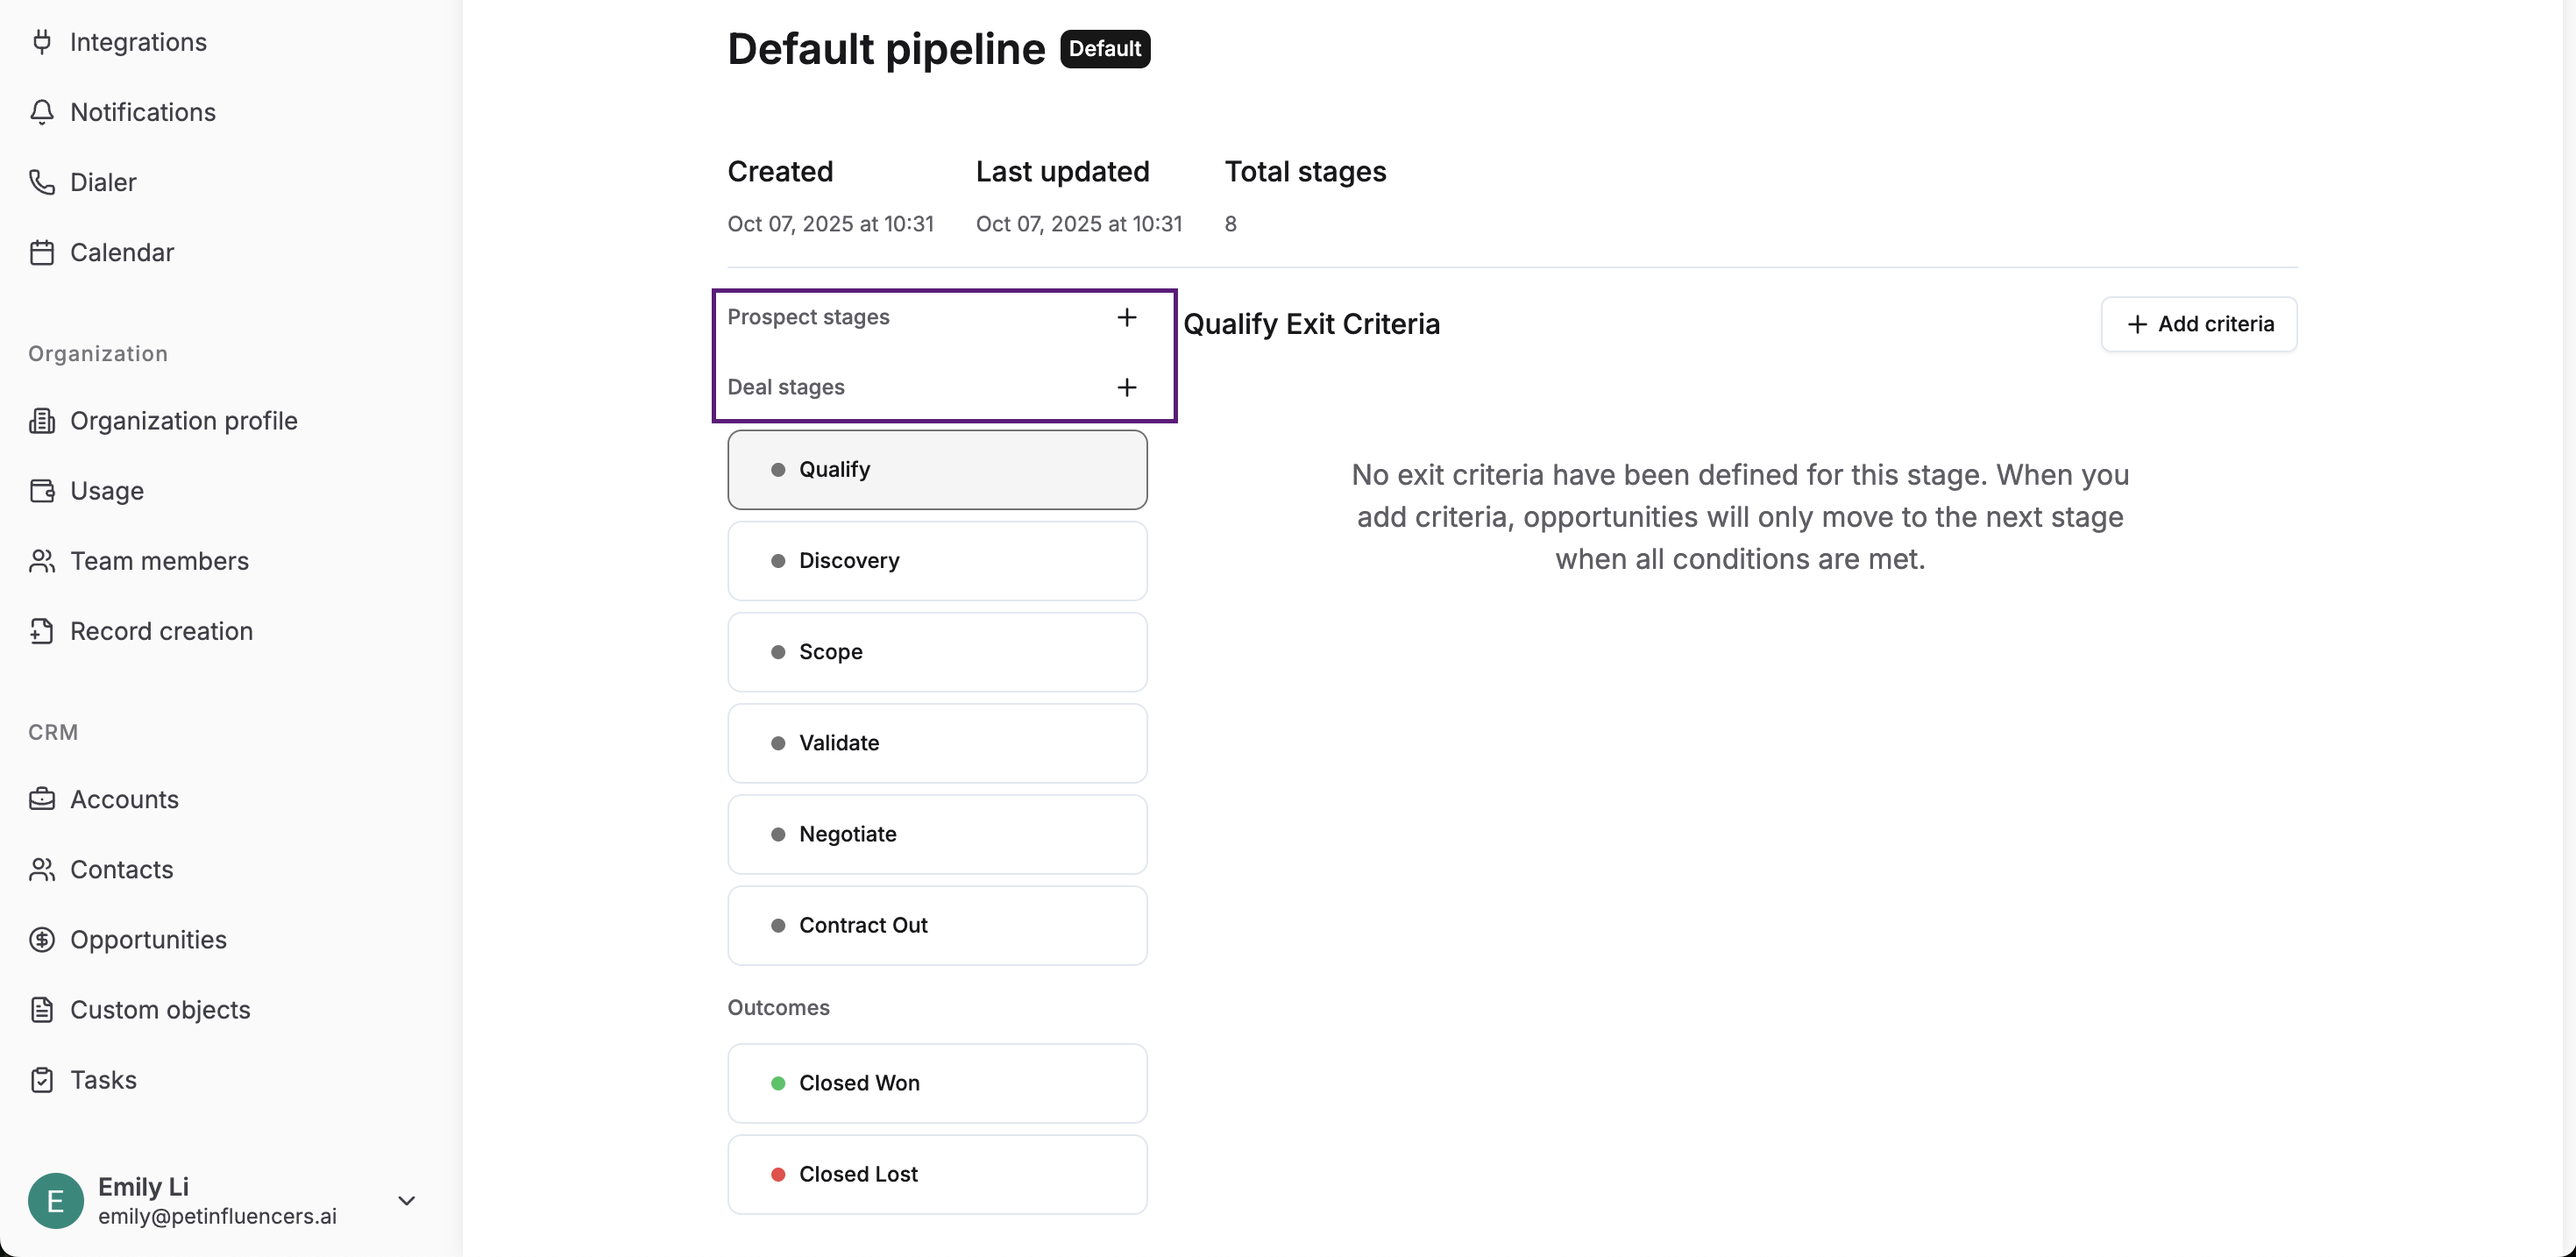
3. Customize Fields
Add a name, description and adjust any other available custom settings as needed to clearly define each stage.Best Practices
Keep stage names simple and clear: Use short, descriptive labels like Prospecting, Qualified, or Negotiation.Match stages to your actual sales process: Align each stage with the real steps your team follows to ensure consistency.Use descriptions for clarity: Add short notes to explain what qualifies an opportunity to move to the next stage.Limit the number of stages: Too many stages can create unnecessary complexity. Keep only the essential steps.Review and refine regularly: Periodically assess if your pipeline stages still reflect your current sales process.